What Is Bleed in Printing? Bleed, Trim and Safe Zone Explained
What bleed, trim and safe zone mean, with the exact business card and flyer sizes (3.75 x 2.25 in and 4.25 x 6.25 in), what goes wrong without them and how to set them up.
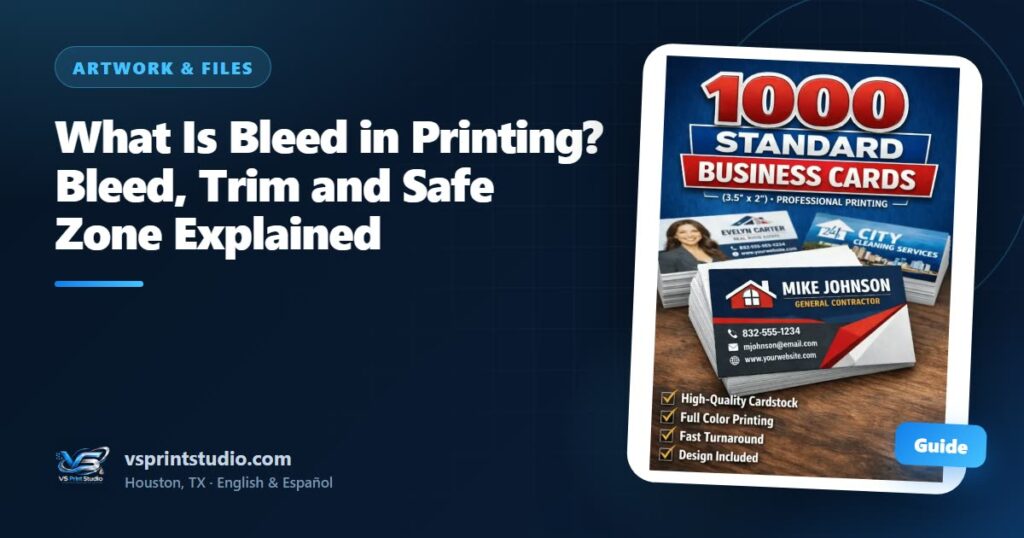
The short answer: bleed is the extra artwork that runs 0.125 in (about 3 mm) past the final size on every side, so when a card or flyer is cut, no white edge shows. The final size is the trim line. The safe zone is a margin of 0.125 in inside the trim line where text and logos stay, so nothing gets clipped. A 3.5 x 2 in business card is built as 3.75 x 2.25 in, and a 4 x 6 in flyer as 4.25 x 6.25 in.
You do not have to set any of this up yourself. At VS Print Studio in Houston we add bleed and safe margins for cards, flyers and anything that is trimmed, and we show you a mockup before printing. This guide explains each term, gives the exact sizes, shows what goes wrong without them and, if you design your own file, how to set it up in common apps.
Bleed, trim and safe zone at a glance
The diagram shows a business card from the outside in:
- Bleed: the outer layer. Background color or image that runs past the cut. It is trimmed off and never seen.
- Trim line: the finished size, where the cut is meant to land.
- Safe zone: the inner margin. Names, phone numbers, logos and faces stay inside it.
What is bleed in printing?
Bleed is printed area that is meant to be cut off. Printed pieces are trimmed to size afterward, and cutting is a mechanical step: a cut can drift by a fraction of a millimeter. If your background color stopped exactly at the trim line, any drift would expose unprinted paper along one edge, a thin white sliver. If the color runs 0.125 in past the line, the cut still lands on ink and the edge stays clean, even when the cut is slightly off.
0.125 in is 1/8 of an inch, about 3 mm. It is the usual bleed for small printed pieces in the U.S., and it is the one we work with. It gives the cut room to move without wasting much space.
Bleed only matters when color, an image or a texture touches the edge. If the design has a plain white margin all around, nothing needs to bleed, but the safe zone still applies.
What are the trim line and the safe zone?
The trim line is the finished size of the piece: 3.5 x 2 in for a standard business card and 4 x 6 in for a flyer. It is a guide for the cut, not something to print, so do not draw a visible line on it.
The safe zone, also called the safe area or safe margin, is where it is safe to put anything you cannot afford to lose: names, phone numbers, logos, faces and QR codes. We keep it 0.125 in inside the trim on every side. Cuts can drift in either direction, so an element sitting right on the trim line can end up crowded against the edge or partly cut off.
Business card and flyer sizes with bleed and safe zone
All pixel sizes are at 300 DPI.
| Layer | Business card | 4 x 6 in flyer |
|---|---|---|
| Artwork canvas, with bleed | 3.75 x 2.25 in (1125 x 675 px) | 4.25 x 6.25 in (1275 x 1875 px) |
| Trim line, the finished size | 3.5 x 2 in (1050 x 600 px) | 4 x 6 in (1200 x 1800 px) |
| Safe zone, keep text inside | 3.25 x 1.75 in (975 x 525 px) | 3.75 x 5.75 in (1125 x 1725 px) |
The math is the same for both. Bleed adds 0.125 in on each side, so the canvas is 0.25 in bigger than the final size in each direction. The safe zone sits 0.125 in inside the trim, so it is 0.25 in smaller in each direction. Cards have a front and a back, and each side needs its own bleed and safe zone. These are the sizes behind our 1000 standard business cards and our 4x6 flyers. For layout advice, see the business card size and design guide and the flyer size and design guide.
What goes wrong without bleed or a safe zone?
| Problem | Why it happens | The fix |
|---|---|---|
| A thin white sliver on one edge | The cut drifted and no ink ran past the line | Extend backgrounds and photos into the bleed |
| An uneven border | A thin printed frame near the edge looks thicker on one side when the cut shifts | Skip thin borders near the edge, or leave a wider margin |
| Text or a logo cut off | It sat on or beyond the trim line | Keep everything important inside the safe zone |
| A QR code that will not scan | A clipped corner, or too little blank space around it | Place it inside the safe zone with room to spare |
| A face lost from a photo | The subject was too close to the edge | Keep faces well inside the safe zone |
Full-bleed backgrounds, white borders and rounded corners
- Full-bleed design. Color or an image goes all the way to the edge. Extend it into the bleed area, or the white sliver risk is real.
- White-border design. Nothing touches the edge. Bleed is not needed, but the safe zone is still wise, and we use the same canvas anyway.
- Rounded corners and other shapes. A rounded corner removes the corner area, so keep logos and text away from the corners. If you want a shape other than a straight rectangle, ask us first so we can confirm what is possible.
How to set up bleed in Canva, Photoshop and Illustrator
The simplest method works in any app: make the canvas the full bleed size, then add guides.
- Create a custom canvas at the bleed size: 3.75 x 2.25 in for a card or 4.25 x 6.25 in for a flyer. In Photoshop, set 300 pixels per inch, which gives 1125 x 675 px for a card. Our guide to what DPI you need for printing explains why.
- Add guides 0.125 in from every edge. That is the trim line.
- Add a second set of guides 0.125 in inside the trim, which is 0.25 in from the canvas edge. That is the safe zone.
- Run background colors and photos all the way to the canvas edge.
- Keep text, logos and QR codes inside the inner guides.
- Export the full canvas as a PNG or PDF. Do not crop it down to the trim size.
Not sure whether your file already has bleed? Check its size. A business card file of exactly 3.5 x 2 in (1050 x 600 px) has none, while one of 3.75 x 2.25 in (1125 x 675 px) does. The same goes for a flyer: 4 x 6 in has none and 4.25 x 6.25 in does.
Some apps help. Illustrator’s New Document window has a Bleed field: enter 0.125 in for every side and it draws the bleed guide for you. Photoshop has no bleed setting, so use the larger canvas above. Canva can show a print bleed guide for print designs, but its menu names change, so a custom-size canvas is the safest route. For everything else worth checking in a file, see the print-ready artwork checklist.
Does bleed apply to shirts, mugs and tumblers?
Shirts are not trimmed, so they need no bleed. The design sits inside the print area on the fabric, and our t-shirt print size chart lists the width for each size.
Mugs and tumblers use a wrap canvas instead: 8.5 x 3.5 in (2550 x 1050 px) for an 11 oz mug and 10.5 x 7.5 in (3150 x 2250 px) for a 40 oz tumbler. If the background should cover the whole piece, let it run to the edges of the wrap canvas. Keep text away from the handle area and the seam. Every size is in our tumbler and mug size guide.
How we can help with bleed and safe margins
You can skip the setup. Send your logo and details, a card or flyer you like, or only a description, and we lay out the card or flyer at the right size with the correct bleed and safe margins, then show you a mockup. Nothing is printed until you approve it. If you built your own file, send it as it is and tell us whether it already includes bleed.
Most standard orders are ready in 2-5 business days after you approve the design, and larger or more complex orders may need more time. You can pick up in Houston or have it shipped across the U.S., and we answer in English or Spanish. See our custom business cards and custom flyers, or check the artwork guidelines.
Before you send a card or flyer: quick checklist
- The canvas is the full bleed size, or I told you the final size and asked you to add the bleed
- Backgrounds and photos run to the edge of the canvas
- Text, logos and QR codes sit inside the safe zone
- There is no thin border near the edge
- The file is 300 DPI at that size: 1125 x 675 px for a card, 1275 x 1875 px for a flyer
- I exported the full canvas, not a version cropped to the trim
- I read every word and every digit a final time
Products mentioned in this guide


Frequently asked questions
What is bleed in printing?
Bleed is extra artwork, usually background, that runs 0.125 in past the trim line on every side. It is cut off at the end and never seen, but it prevents a white sliver if the cut drifts slightly. It is needed for business cards, flyers and anything trimmed after printing.
How much bleed do I need for business cards and flyers?
0.125 in (about 3 mm) on each side. A 3.5 x 2 in card becomes 3.75 x 2.25 in with bleed (1125 x 675 px at 300 DPI), and a 4 x 6 in flyer becomes 4.25 x 6.25 in (1275 x 1875 px). We add the bleed for you.
What is the safe zone in printing?
It is a margin inside the trim line where text, logos, faces and QR codes stay so nothing gets cut. We keep it 0.125 in inside the final size: 3.25 x 1.75 in on a business card and 3.75 x 5.75 in on a 4 x 6 in flyer.
Do I need bleed if my design has a white background?
If nothing touches the edge and the paper stays white all around, bleed is not needed, but the safe zone still applies to your text. If there is color, a photo or a frame near the edge, you do need bleed. We use the same canvas in both cases.
Do you add bleed for me?
Yes. We add bleed and safe margins for cards, flyers and anything that is trimmed. Send your design as it is, or only an idea, and we prepare the file and show you a mockup. If your file already includes bleed, tell us. Nothing is printed until you approve it.

Practical guides from our studio in Houston, Texas. We prepare your print-ready file, show you a mockup and print nothing until you approve it. Questions? Message us in English or Spanish. About us
More guides for you
What DPI Do You Need for Printing? 300 DPI Explained Simply
The plain answer to what DPI you need for printing: 300 at the final size, 150 as the minimum. With the pixel math for shirts, cards and tumblers, and how to check your own file.
Vector vs Raster Images for Printing: What’s the Difference?
Vector or raster, which one should you send? A plain-English guide to how each file works, a 30-second test to tell them apart, and what to do when your logo only exists as a small picture.
Print-Ready Artwork Checklist: 12 Things to Check Before You Send Your File
A 12-point checklist for getting a file ready to print: format, resolution, size, background, fonts, color, bleed and what to send. You do not have to do it alone, because we prepare the file for you.
Tell us your idea — we make it real
Send your design, your idea or just a description. We prepare the file at the right size and personalize it for you — in English or Spanish, by message or on WhatsApp.